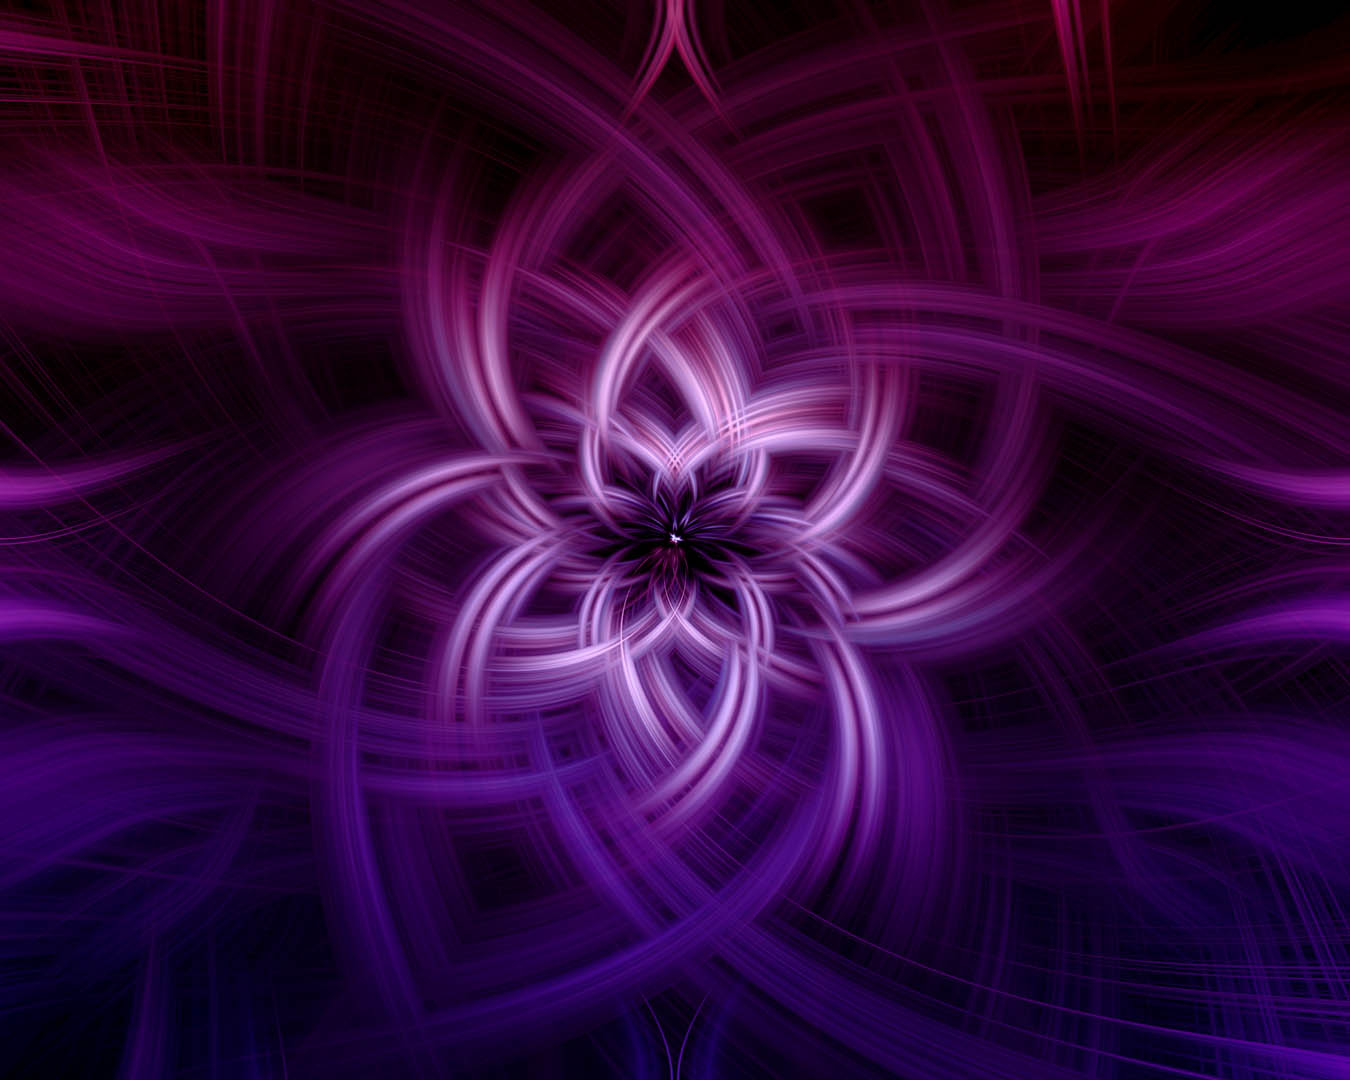
Use Photoshop’s Twirl Filter effect to create unique designs in about 15 minutes.
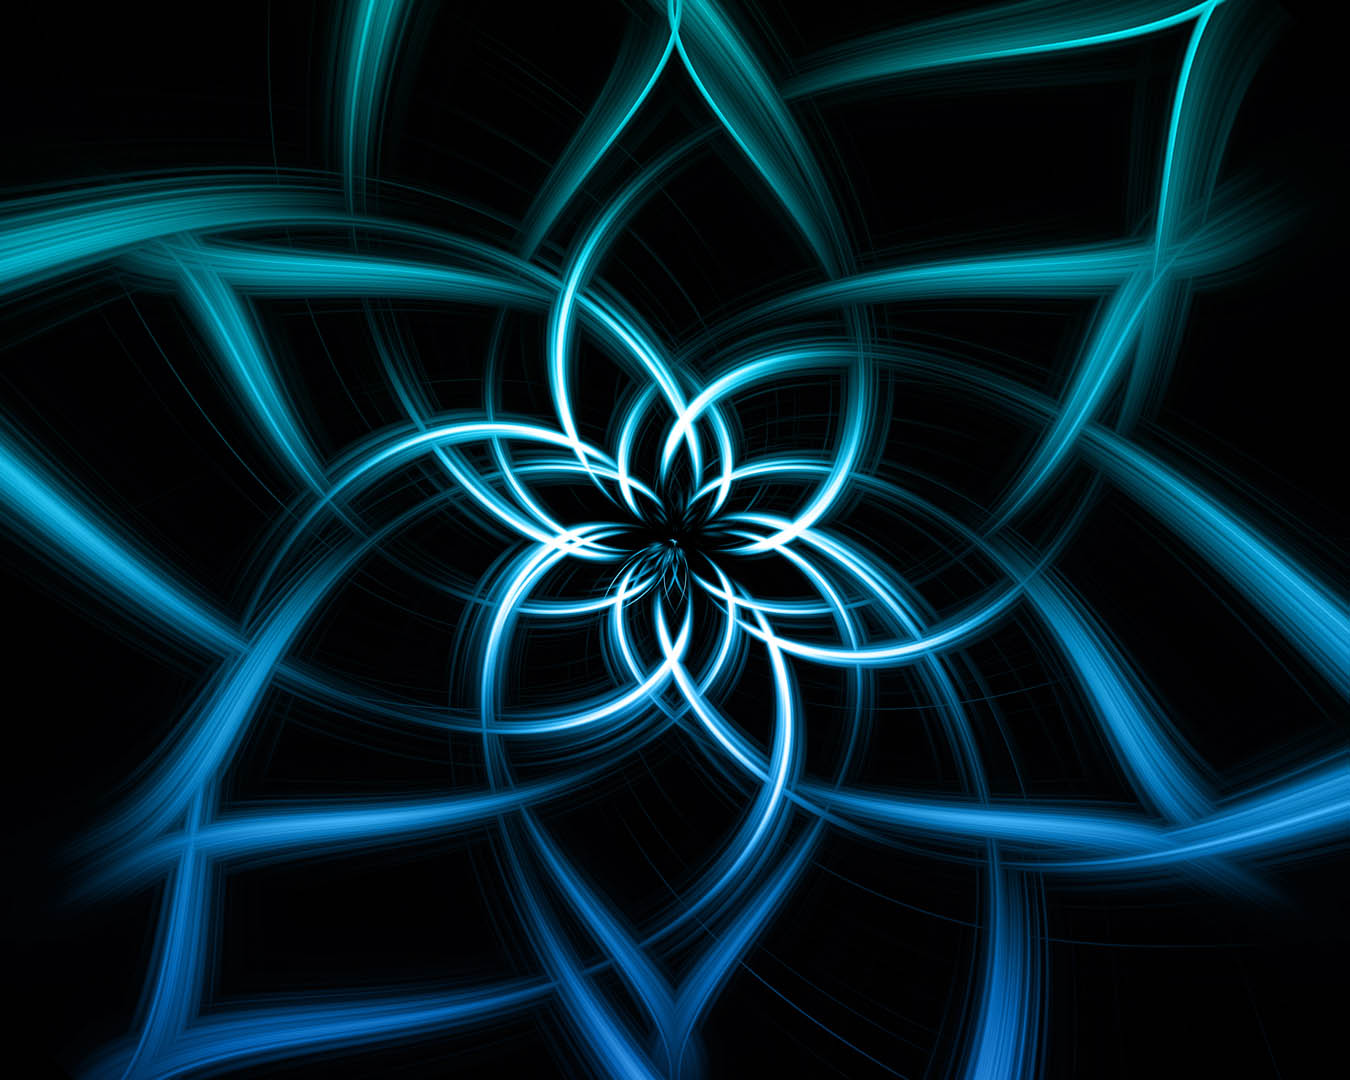
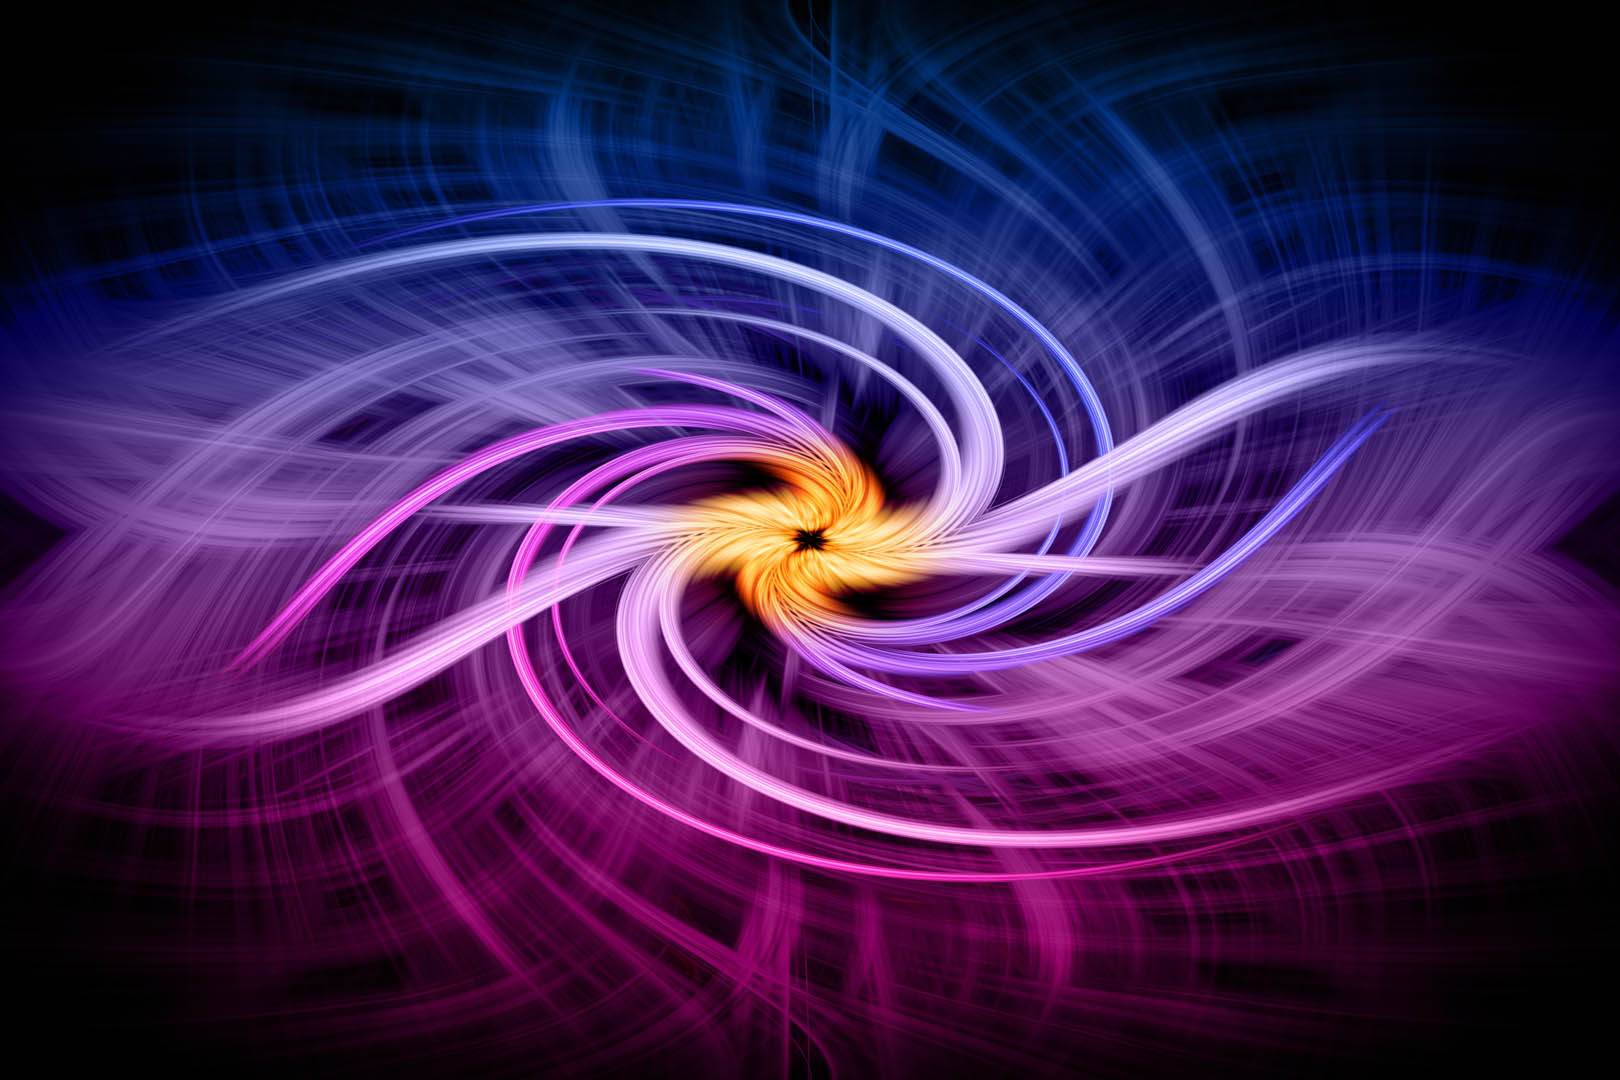
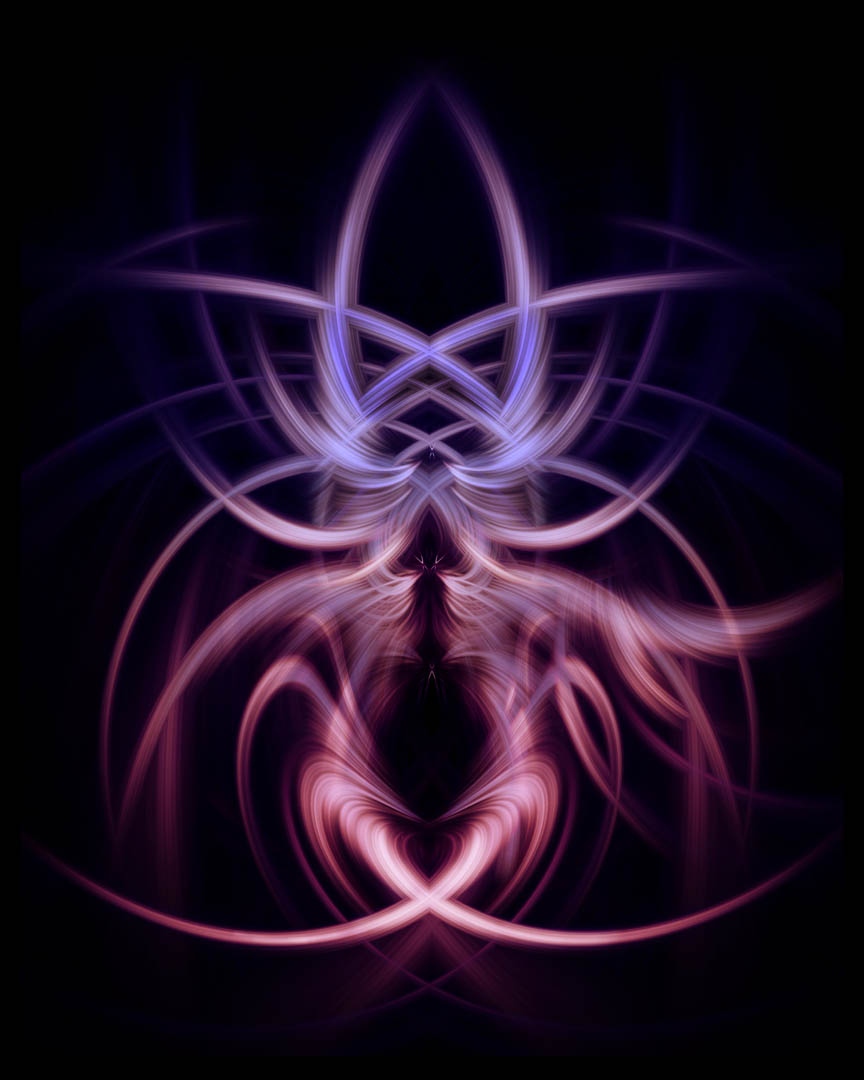
In this tutorial, I show you how to use the mezzotint, radial blur and twirl filters to create stunning looking designs that are great for wall prints or backgrounds.
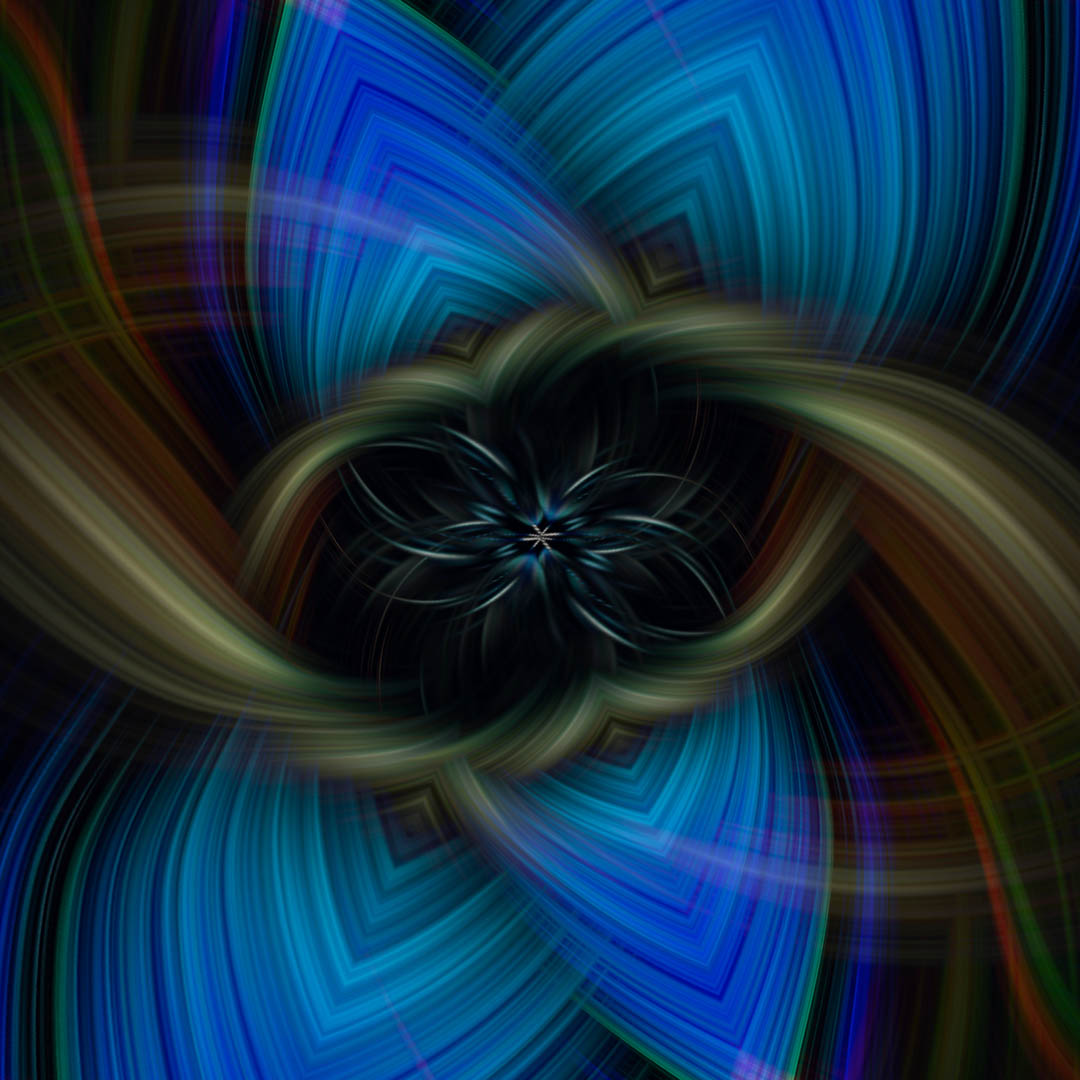
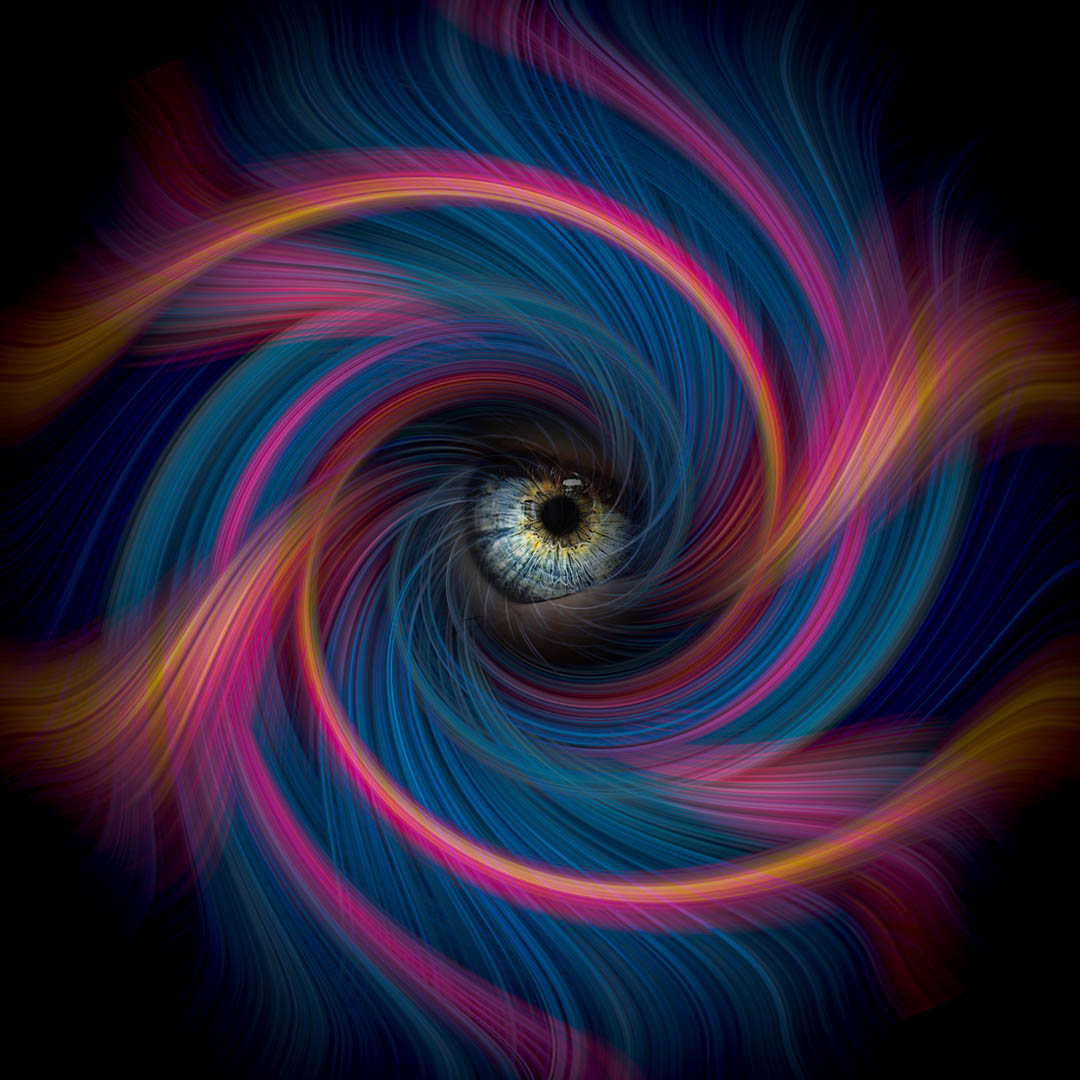
Open an image in Photoshop that you want to use for this effect. I like to pick out images that have a variety of different colors, however, it really doesn’t matter, we can change colors in Photoshop, right?
Right click on the layer and click on convert to smart object. This will allow you to make changes later if you are not satisfied with the results.
Step 2 is to go up to filters>pixelate>mezzotint. There are 10 different options for this filter but I like to use long or medium lines.
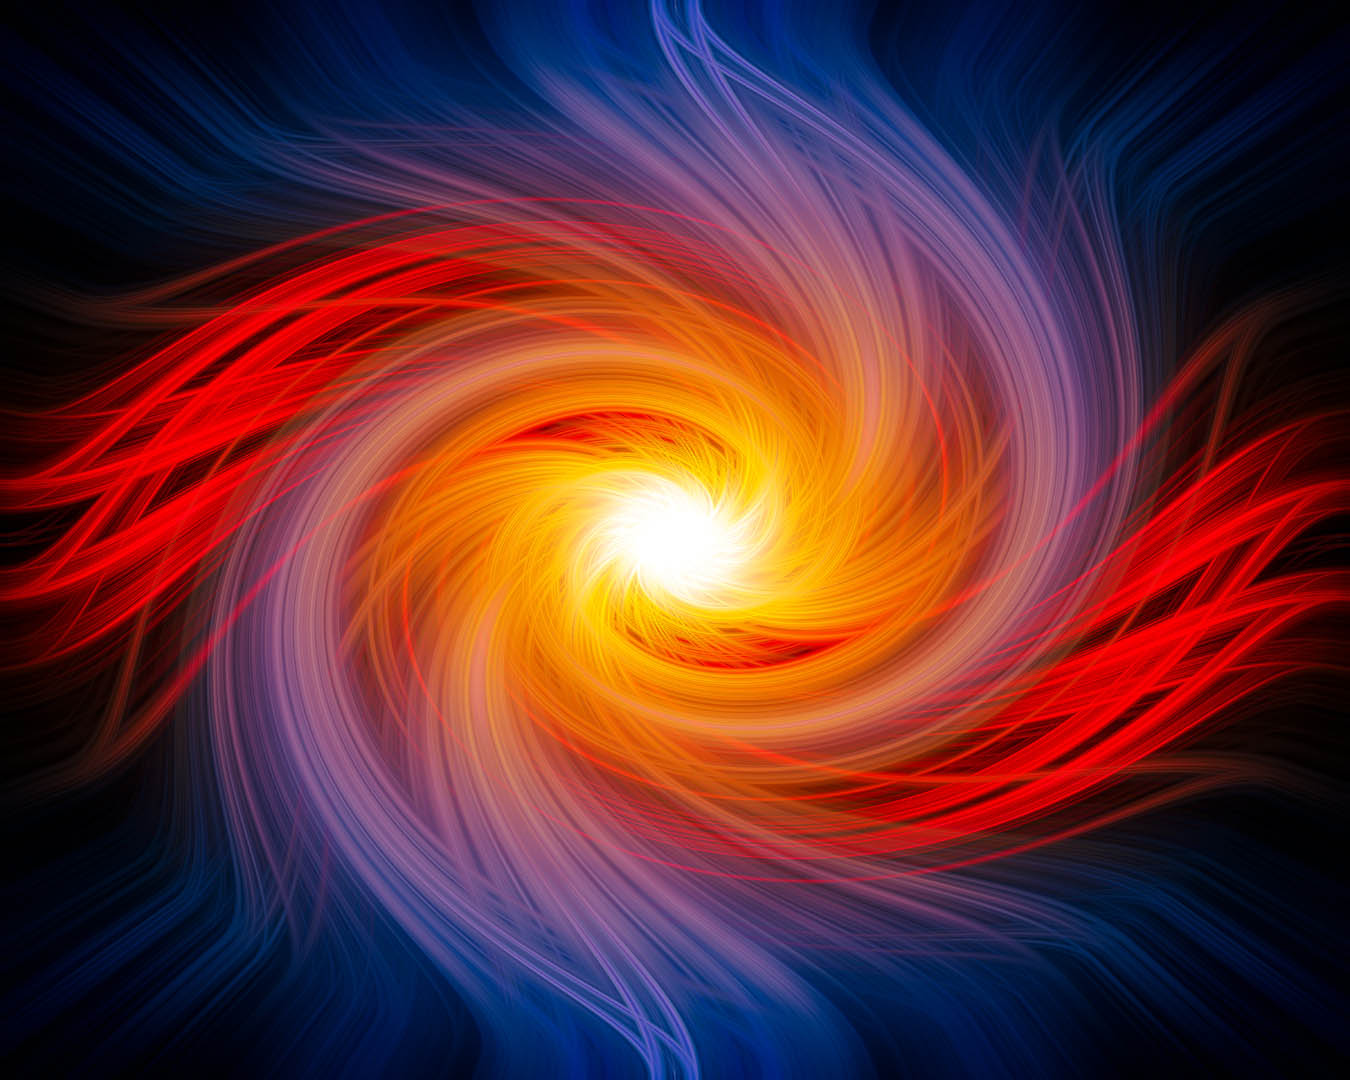
After that is complete go to filter>blur>radial blur. Increase to 100, select the zoom option and best quality. Do this 3 times and then we will apply the twirl effect to the result.
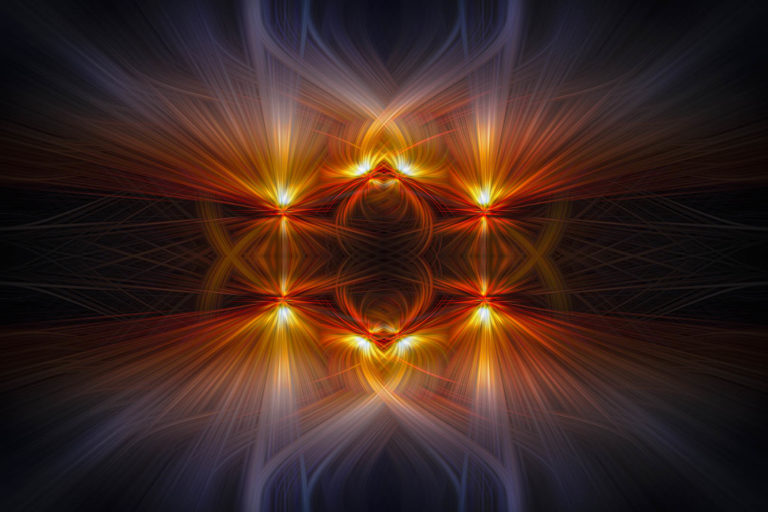
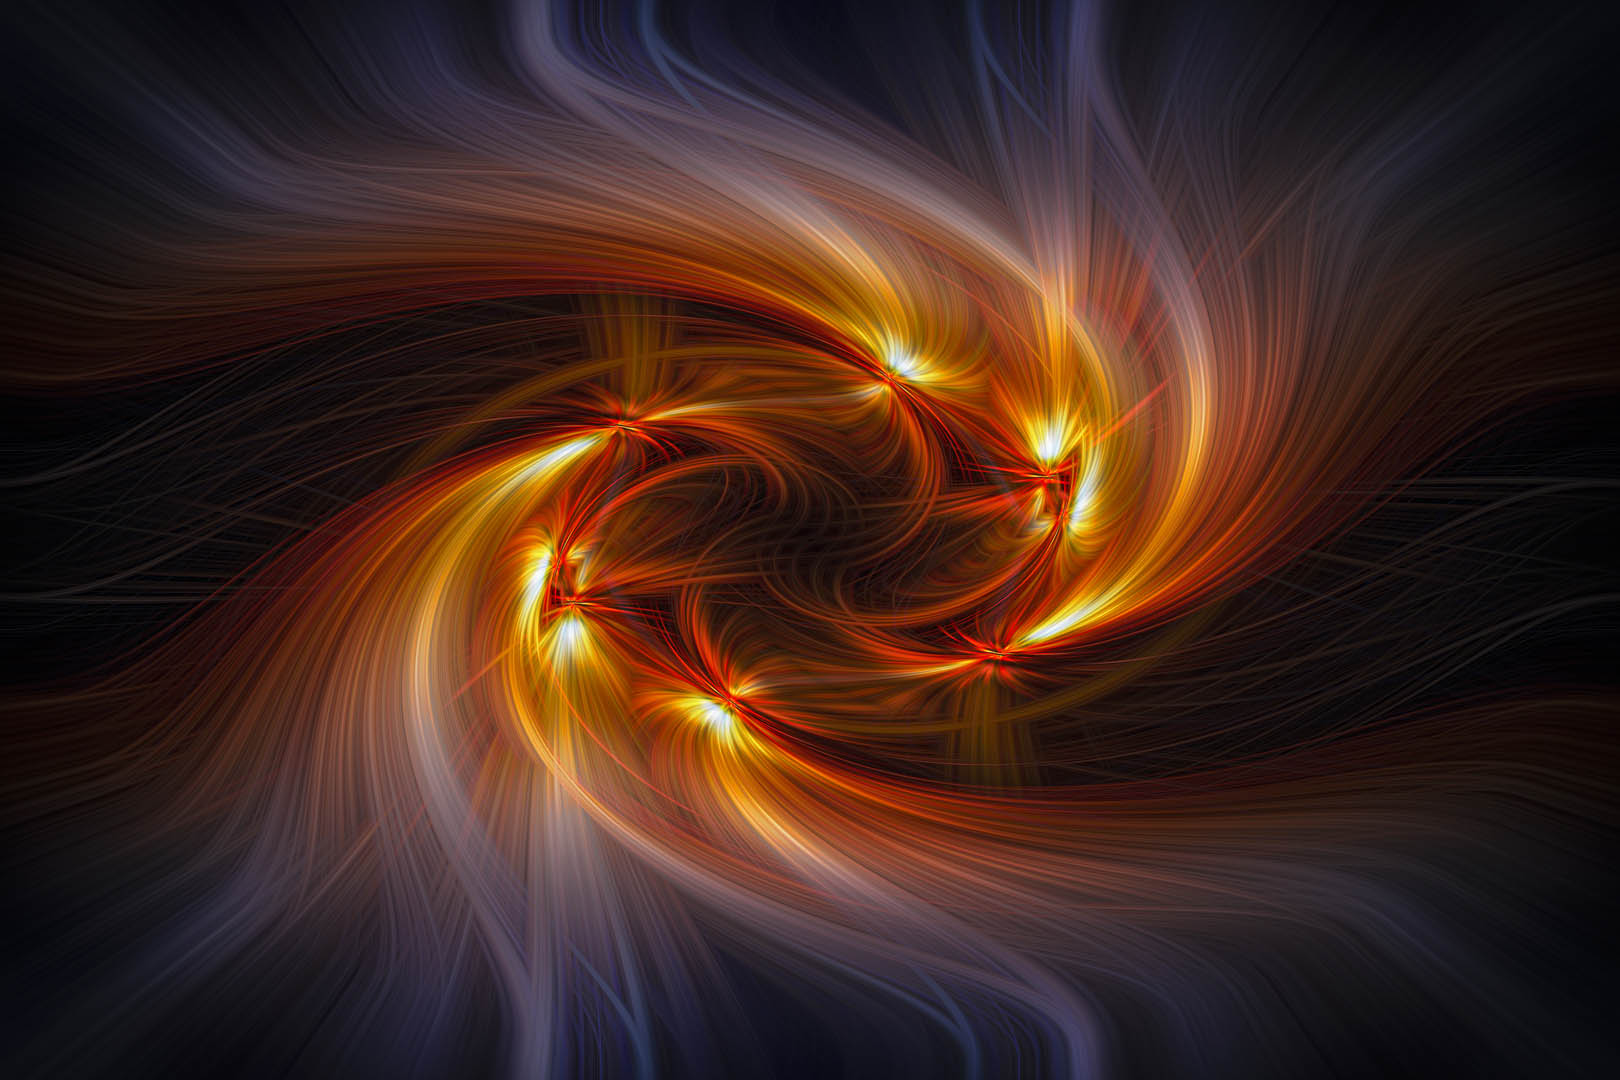
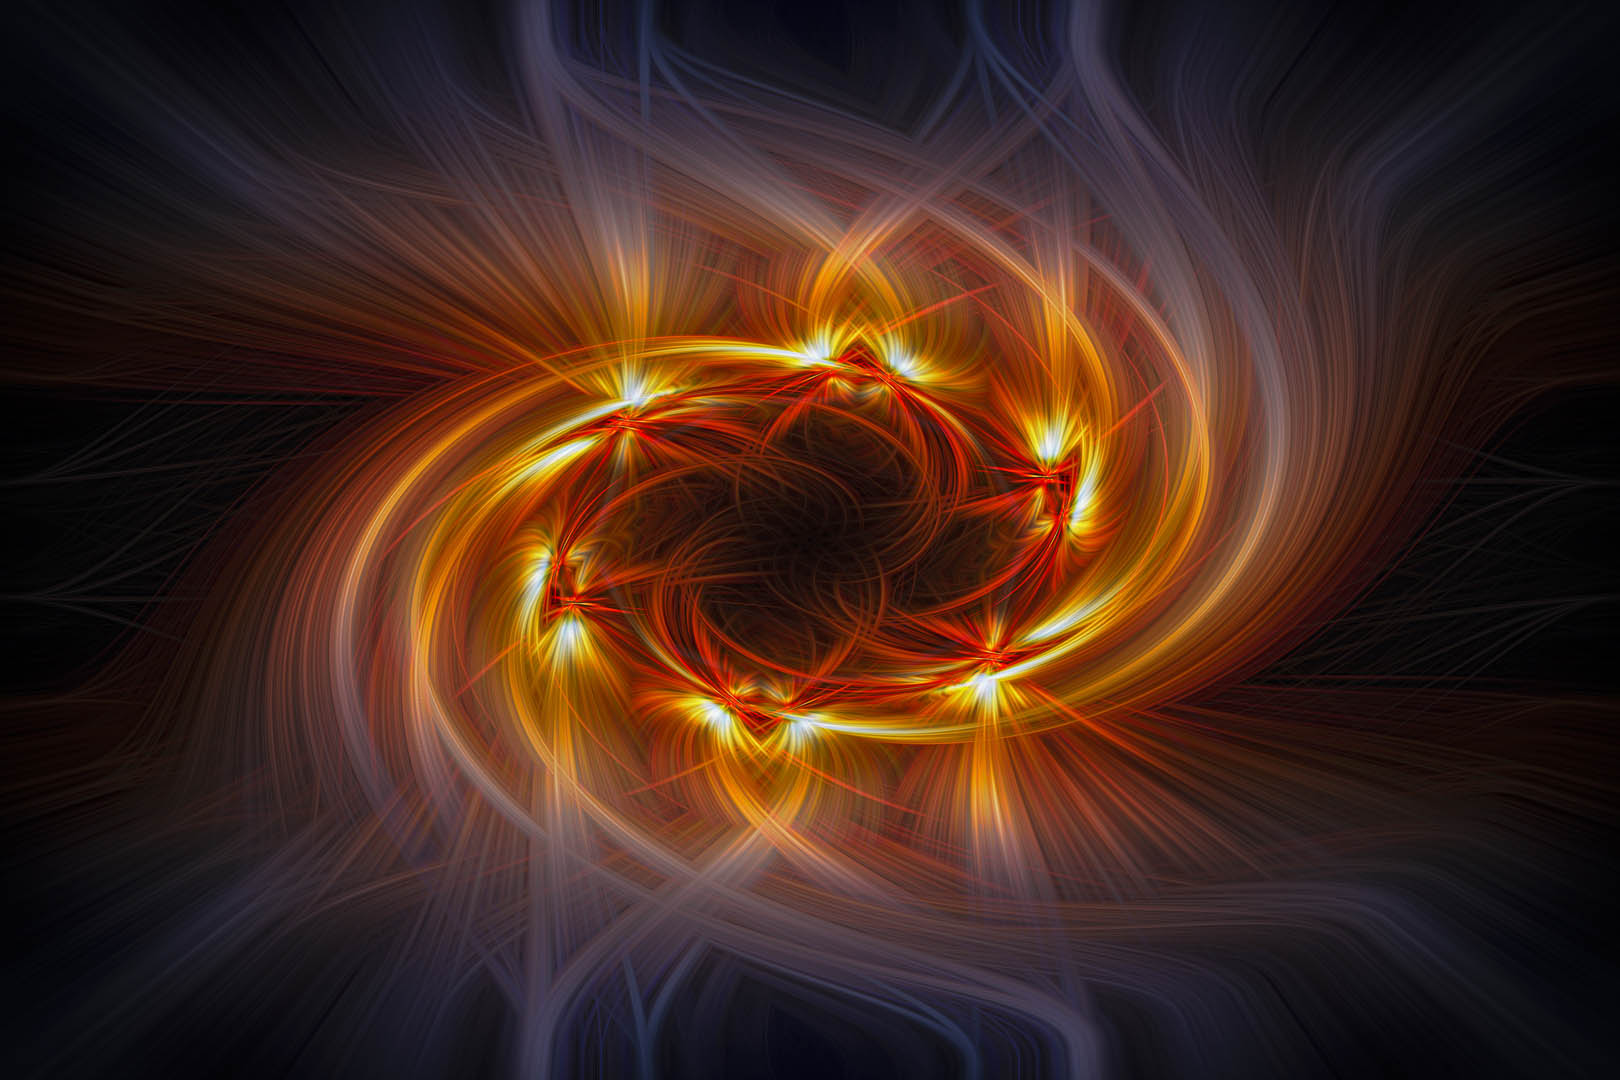
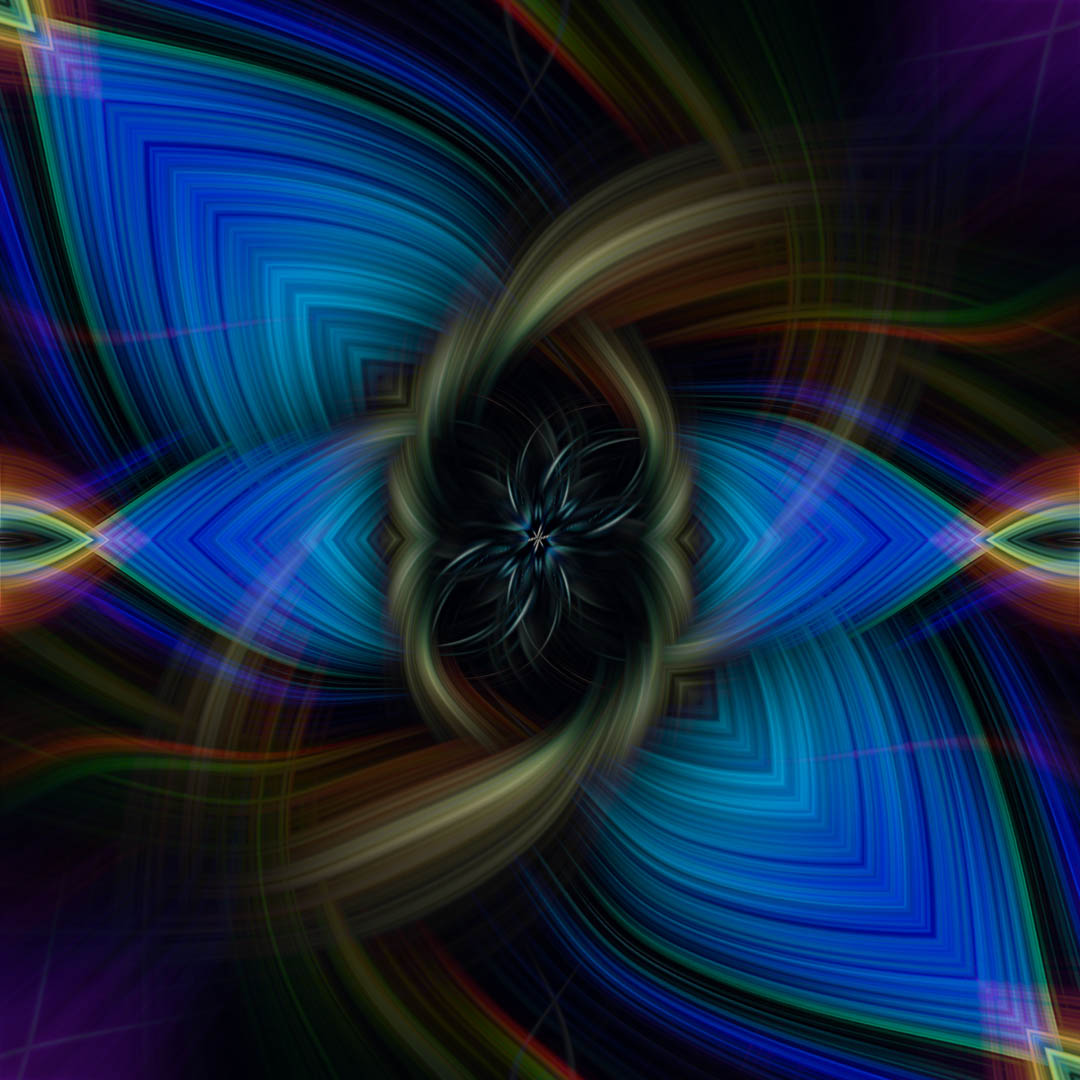
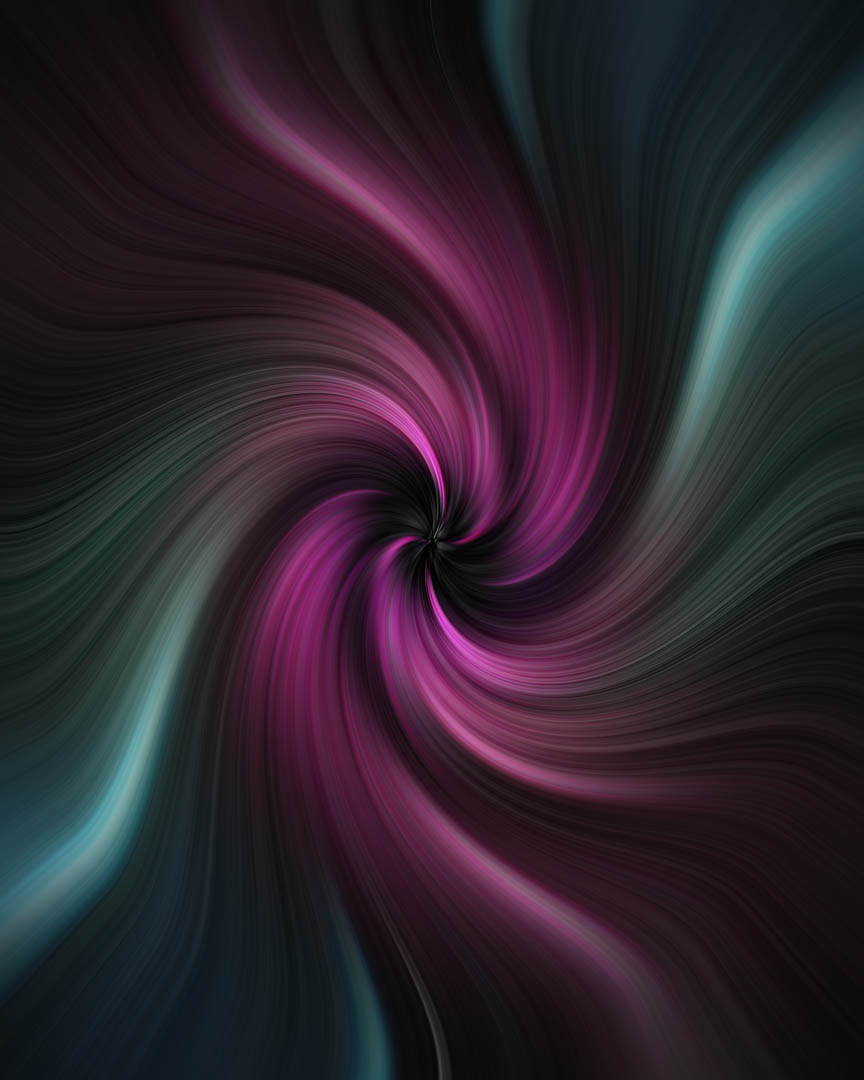
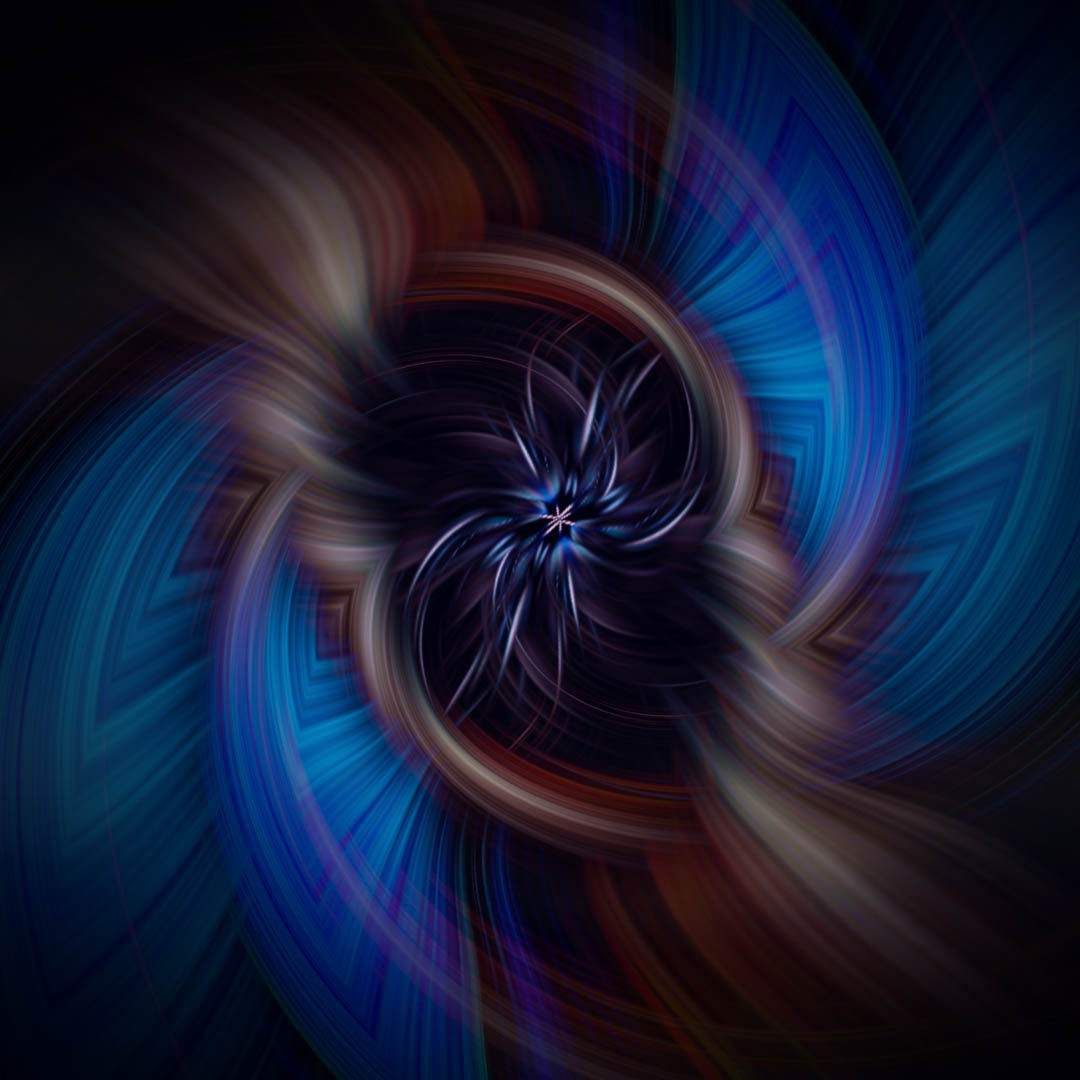
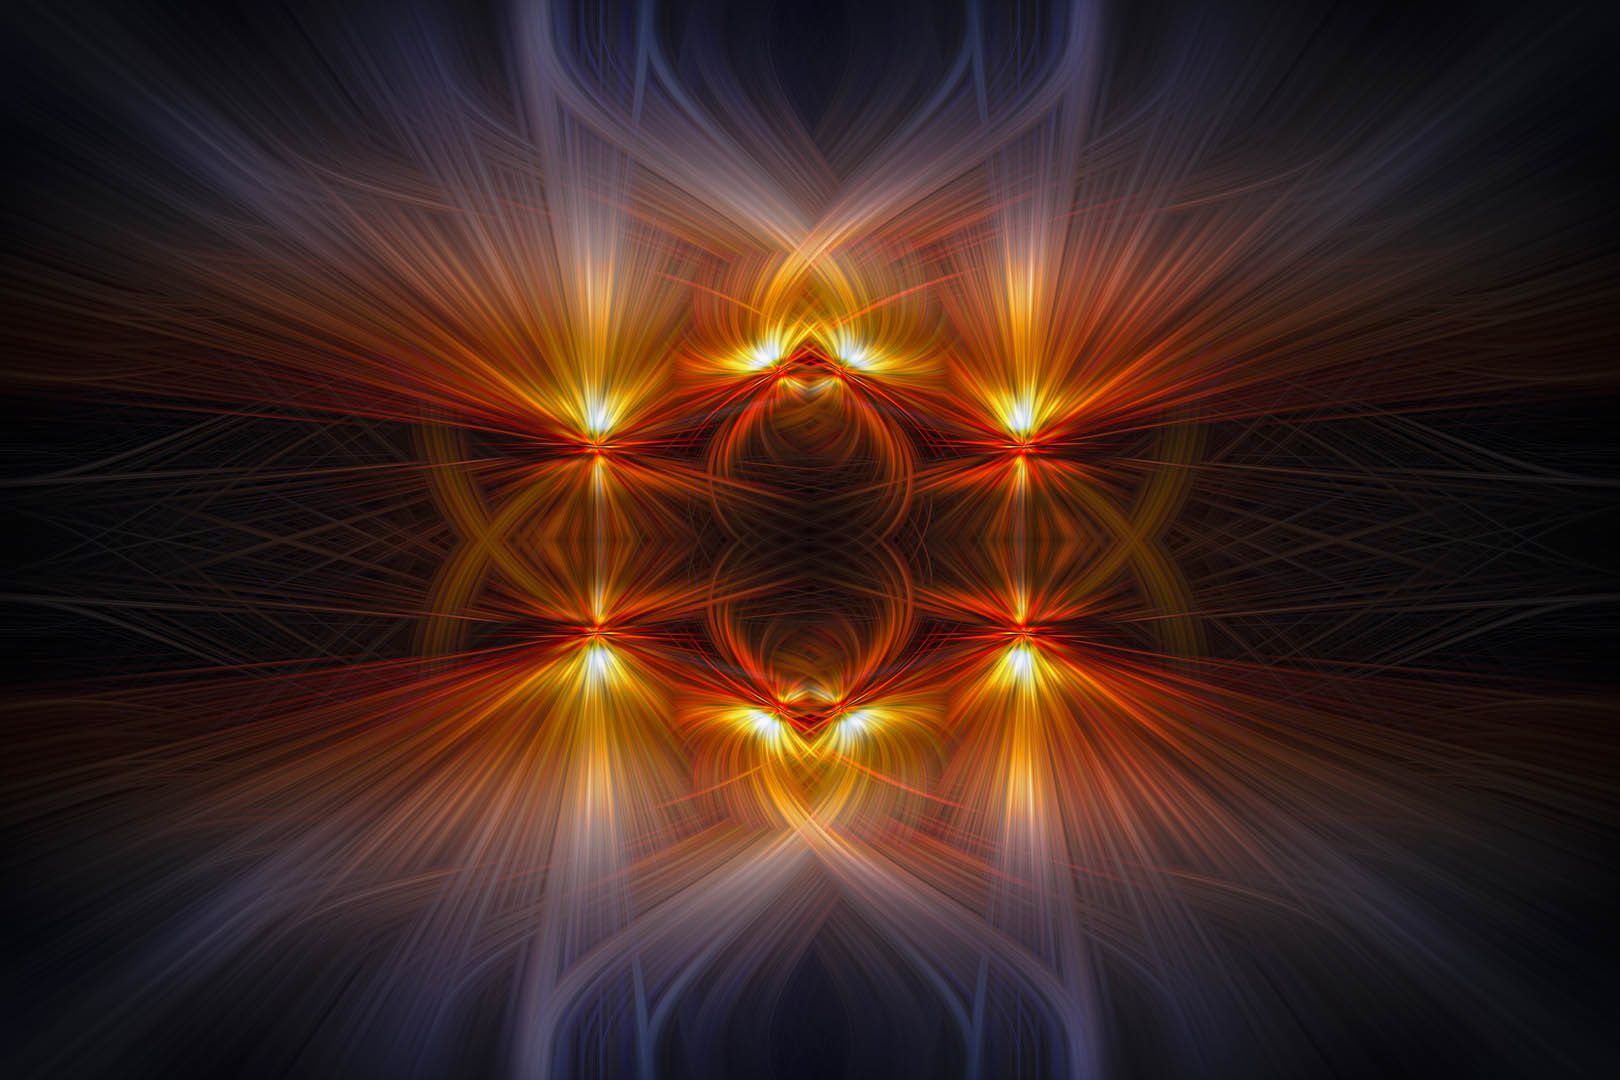
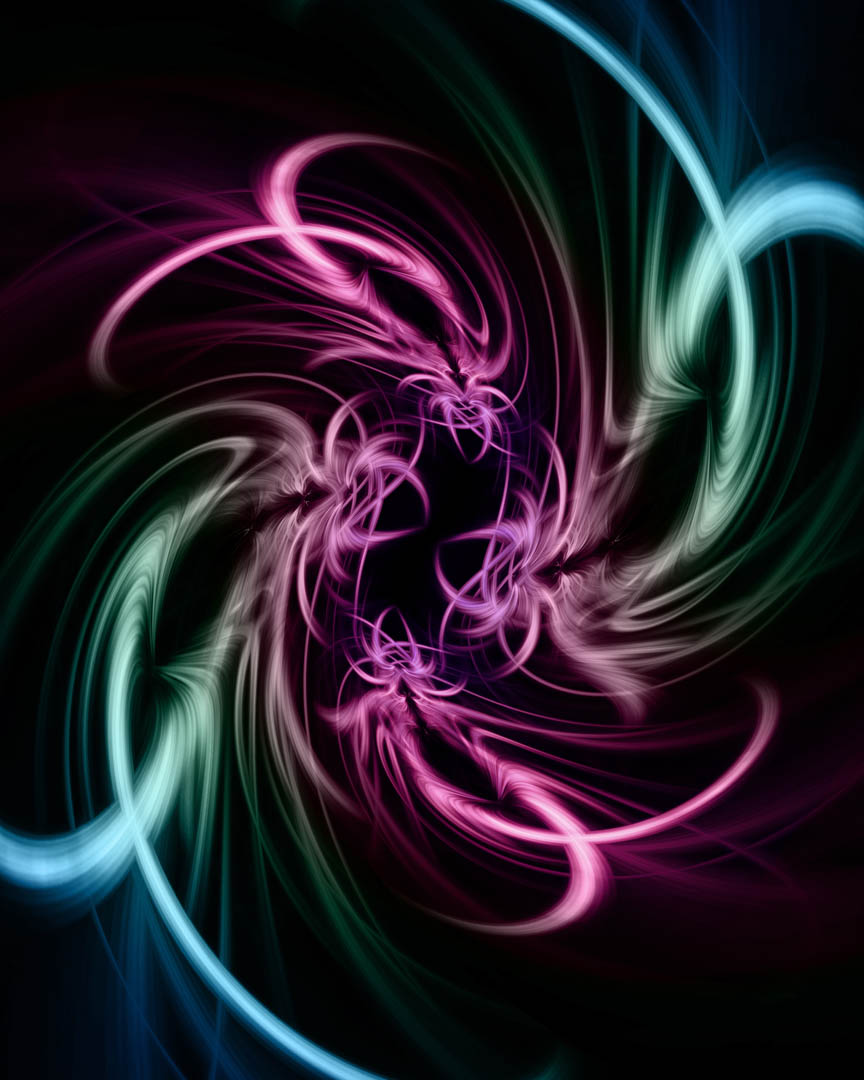
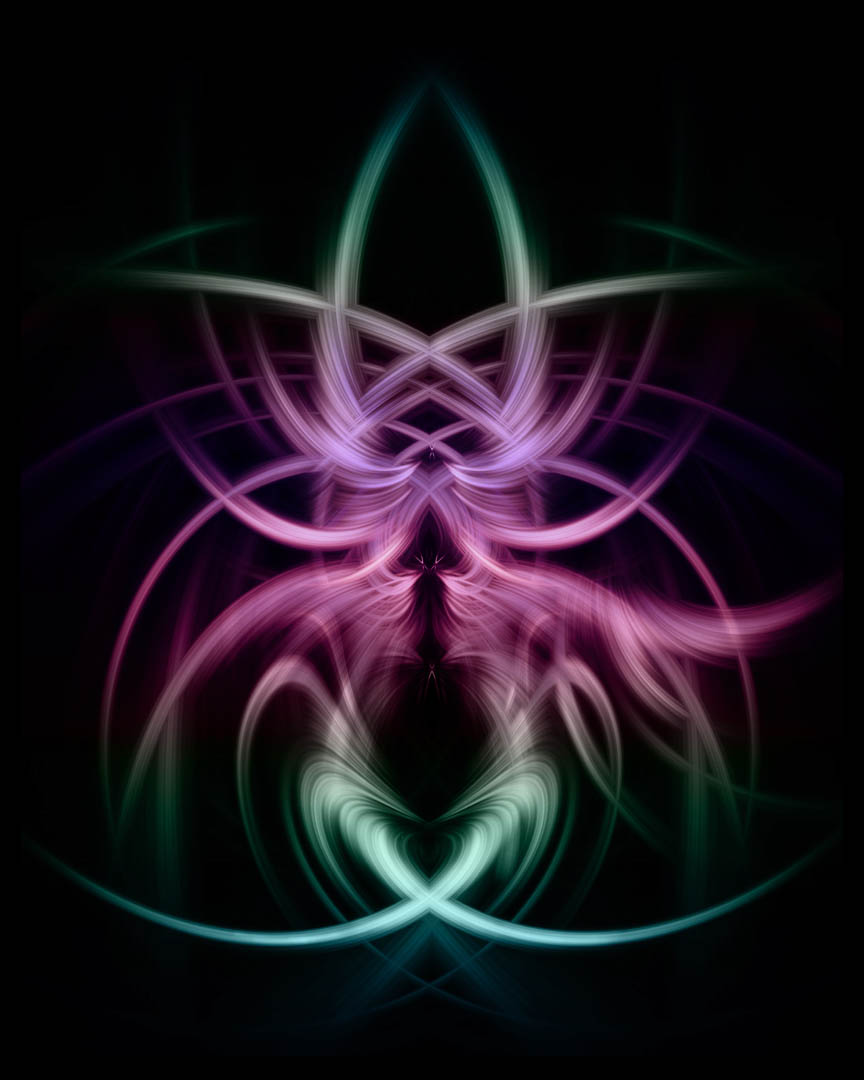
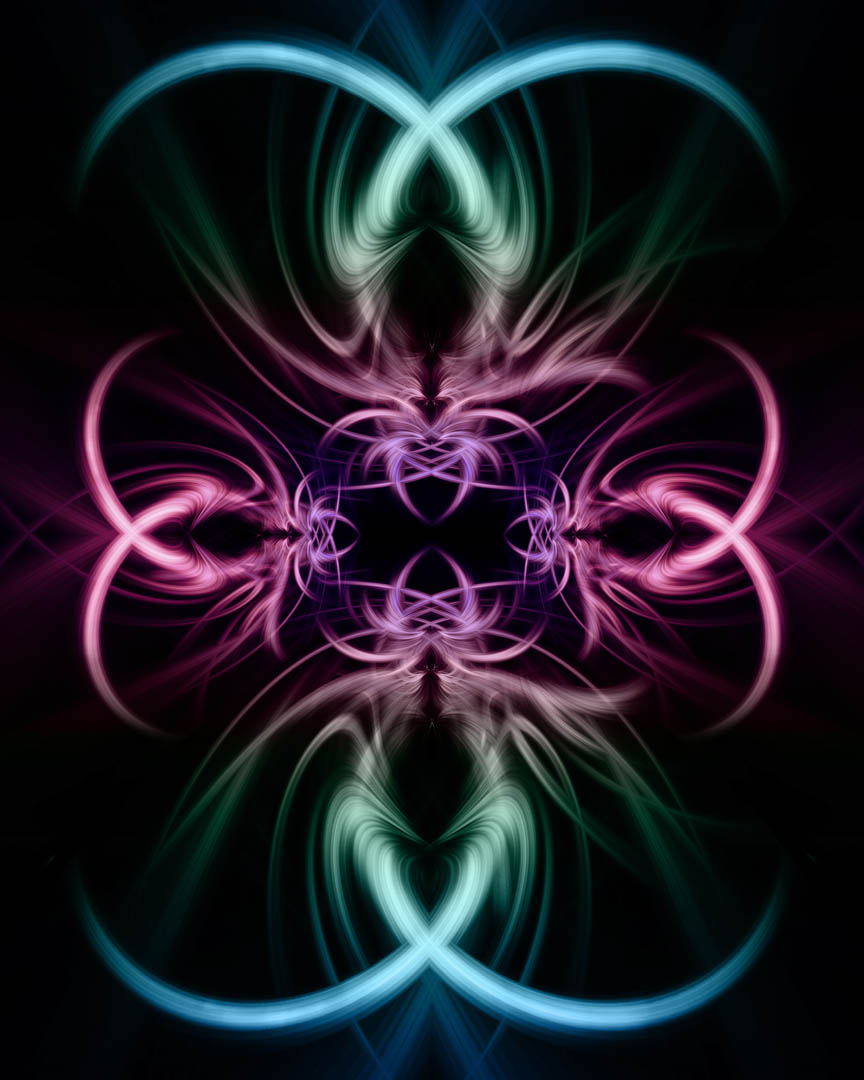
Go to filters>distort>twirl. Using a setting between 100 to 140 produces the best results, but if you want to twirl it 800, go ahead you rebel!
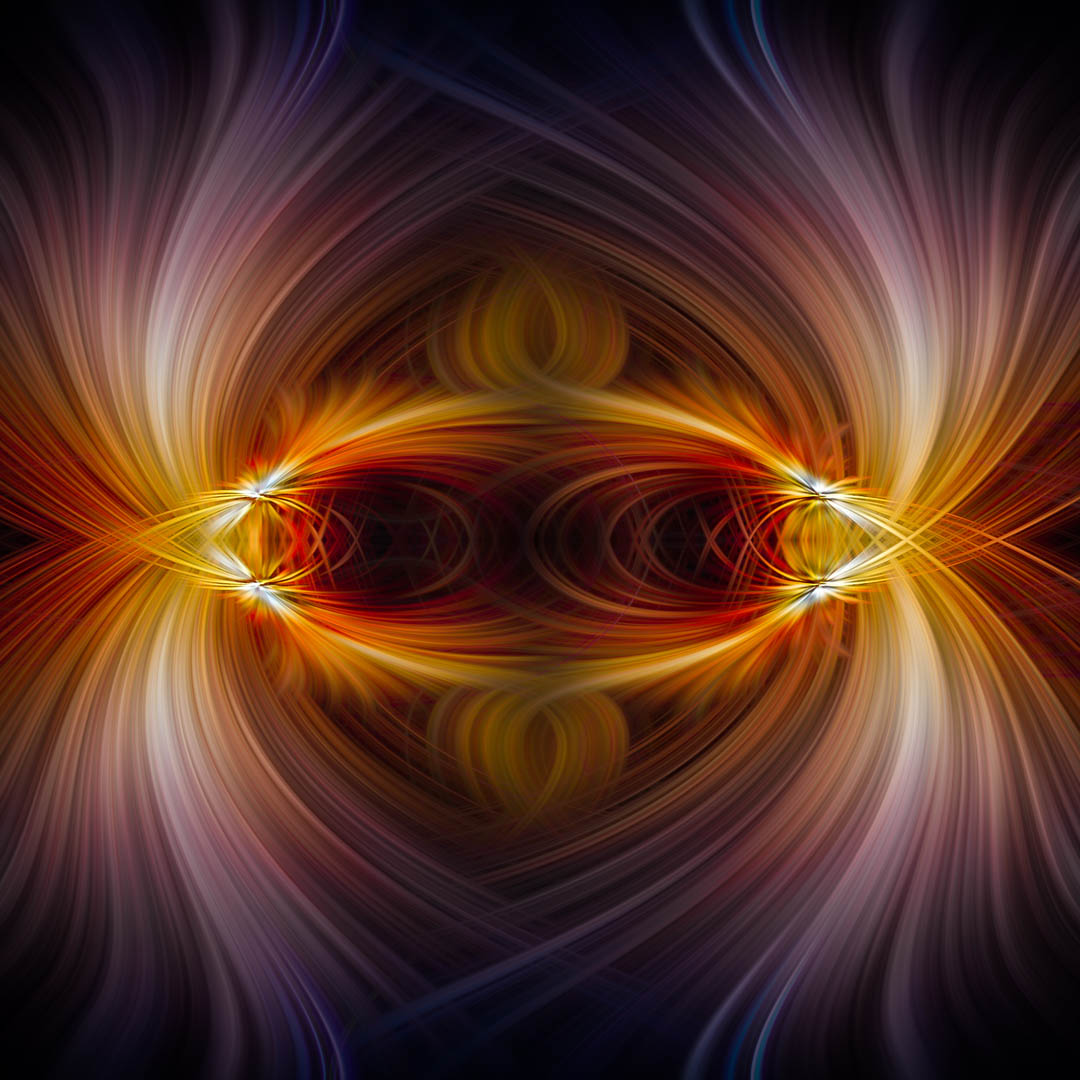
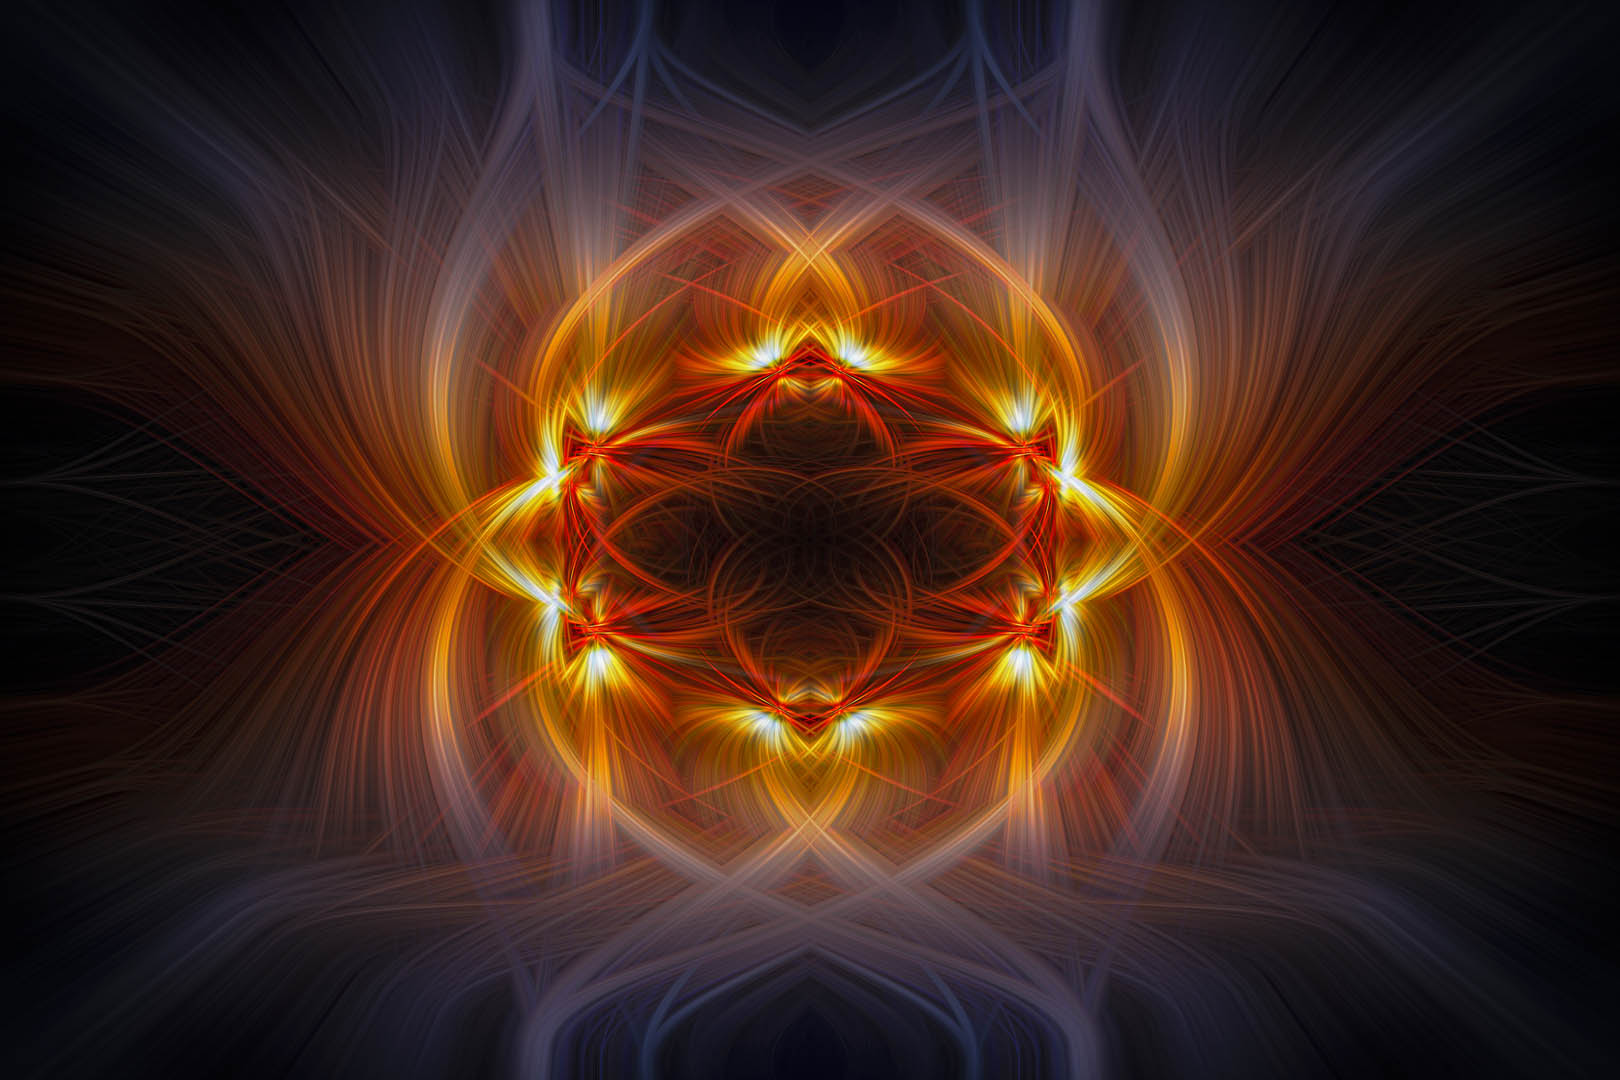
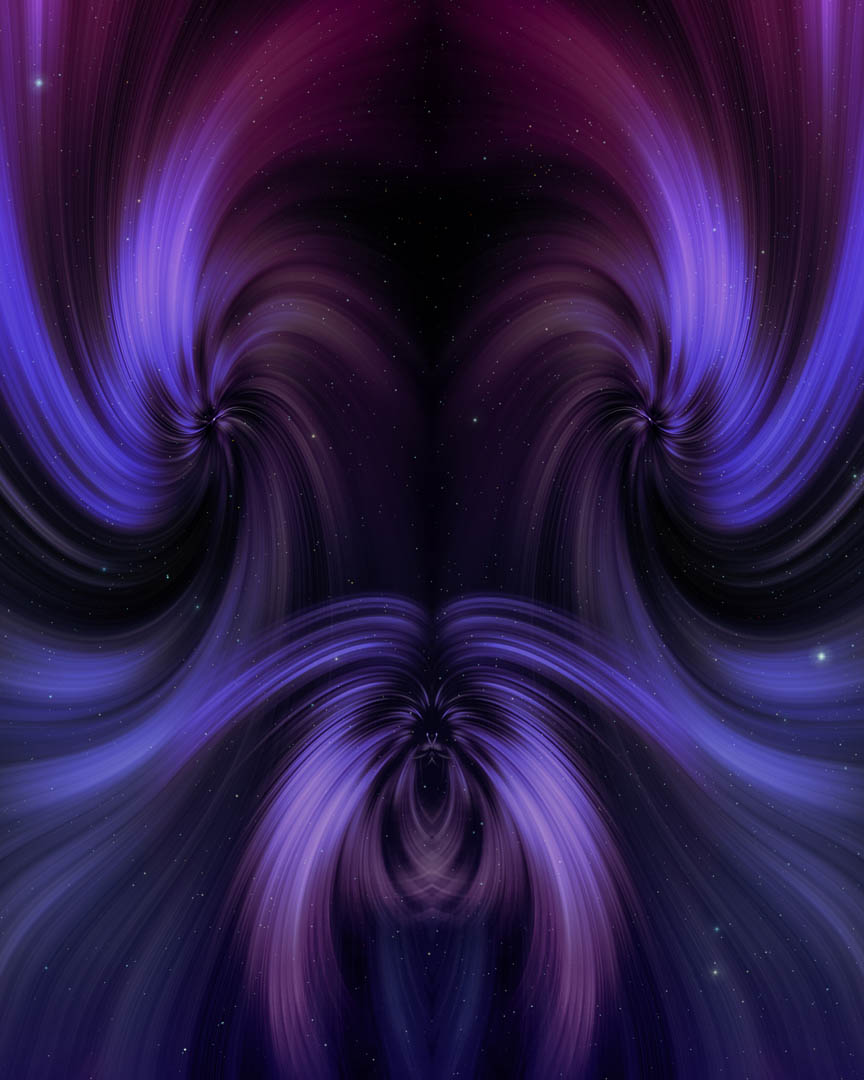
From here it’s all up to you, you can duplicate layers, flip, rotate and twirl some more.
Here is the complete video tutorial you can follow along.