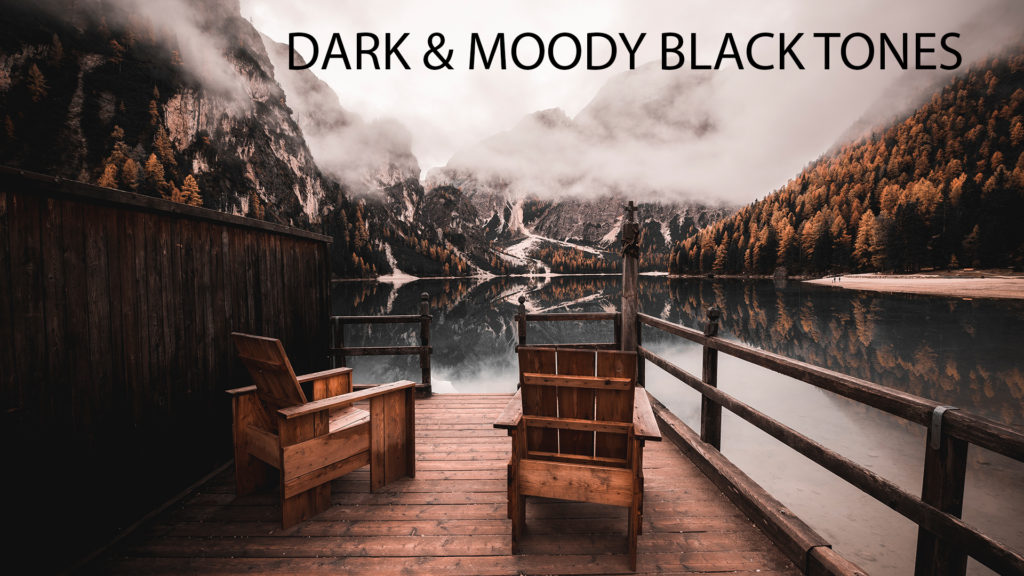
How to Create a Dark and Moody Black Tones Edit in Lightroom and Photoshop
How to Create a Dark and Moody Black Tones Edit in Lightroom and Photoshop
In this tutorial I’ll show you how to create a dark and moody, black tones edit using either Lightroom, Lightroom Classic or Photoshop Camera Raw.
The same effect can be done on Lightroom mobile as well.
Here’s the complete video tutorial if you would rather watch:
Open up your image and in Lightroom and go to the develop module, in Photoshop, convert to a smart object and open the camera raw filter.
Switch out all the settings to the ones below using the sliders, you may have to adjust your settings a little differently as all photos are not the same.
Basic Settings
Temp to +5
Tint to +10
Exposure to -.5 to -1
Contrast to +30
Shadows to -50
Blacks to -40
Clarity to +20
Vibrance to +20
Detail and Color Settings
In the Detail section change your sharpness to around +30 and move on to the HSL/Color and use the following settings
Hue:
Red to +50
Yellow to -100
Saturation:
Red 0
Orange to -25
Yellow to -100
Green to -100
Aqua to -100
Blue to -100
Purple to -100
Magenta to -100
Luminance:
Change all the colors to around +10
Color Grade and Optics Settings
In the color grade panel click on the highlights circle and change the hue to around 30, saturation to 4 to 10 and leave the luminance where it is.
Go to the color calibration section and change the green hue to +100
The last step is to create a vignette. To do this go to your effects panel and slide the vignette slider to the left to -50. Every photo is different so you may have to mess with this setting if that is not enough or too much.
That’s it, you’ve created a dark and moody black tones image!
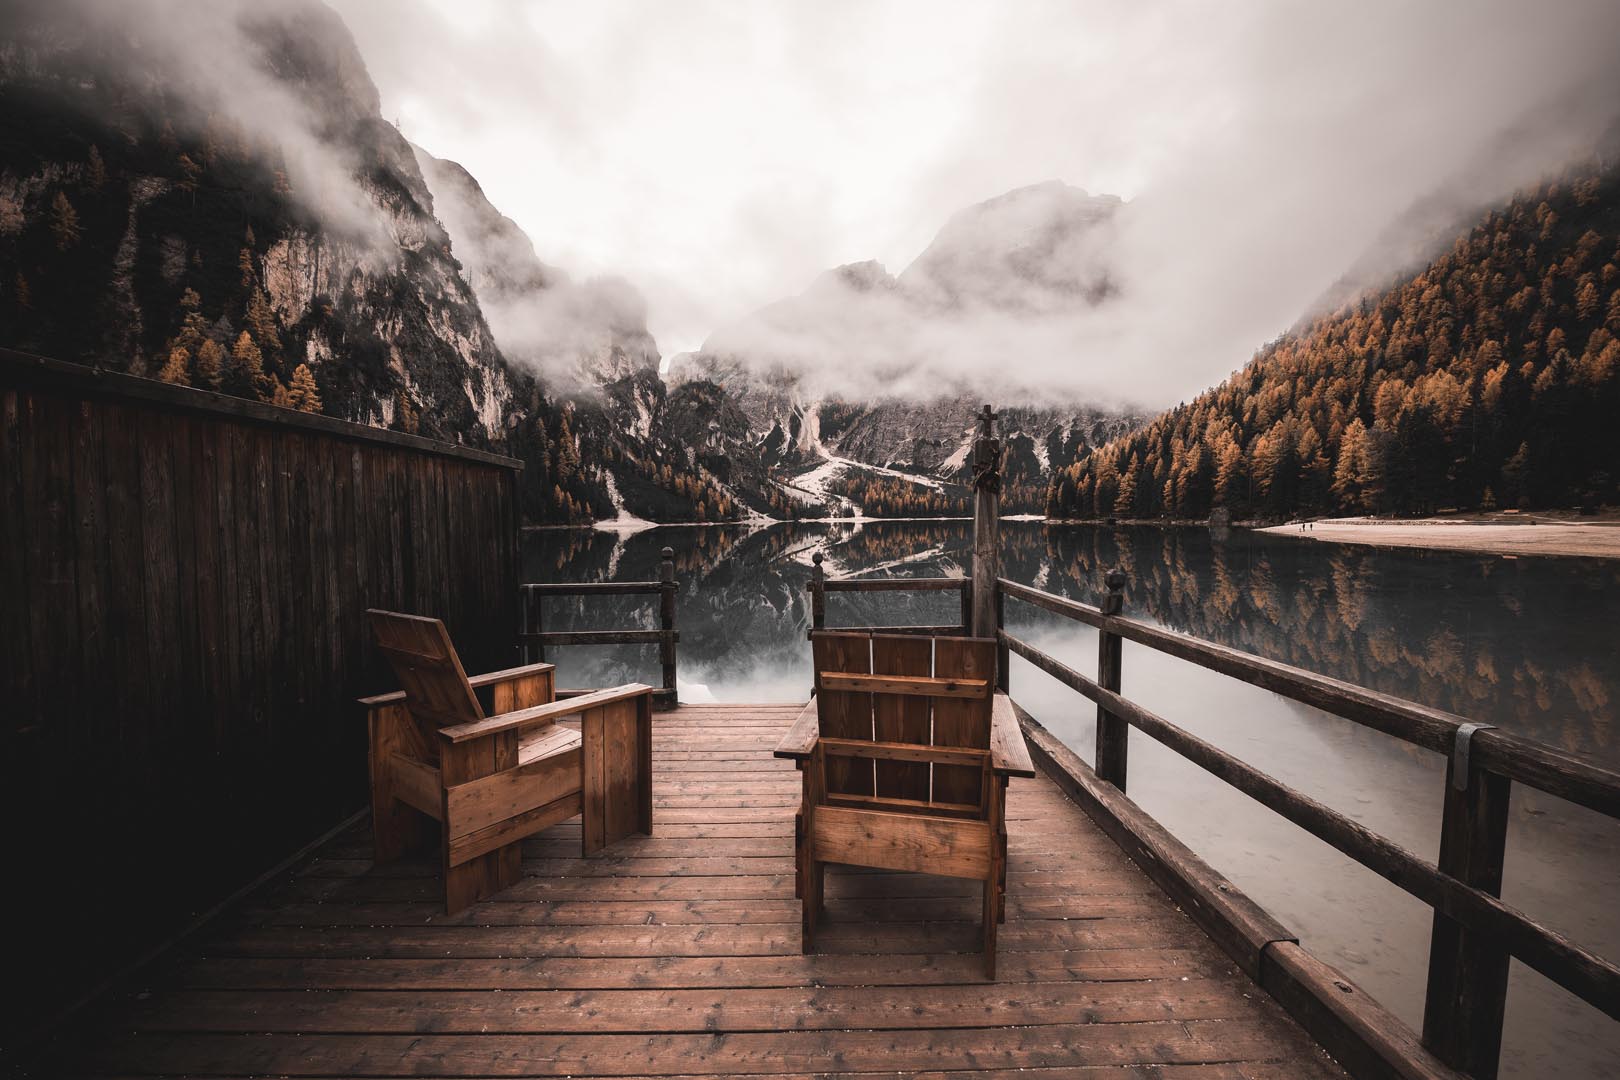
Here are some examples of what I did with this style edit on a few photos.